
This article was written by Sebastian de Sandoval.This summer, he took the time to paint a marshalling staff. Below is his process, pictures, what he learned, and what he would do differently.
Upon deciding to make a marshalling staff for myself, I looked upon the bare wood I had acquired, and went, "How can I make this *more*?" Inspired by the fact that a C-7 rifle with its stock fully extended is precisely one meter in length (and thus can be used a field-expedient meterstick), I decided to add measurement markings to it that could be used in the field, when a marshal may not have another measuring device handy.
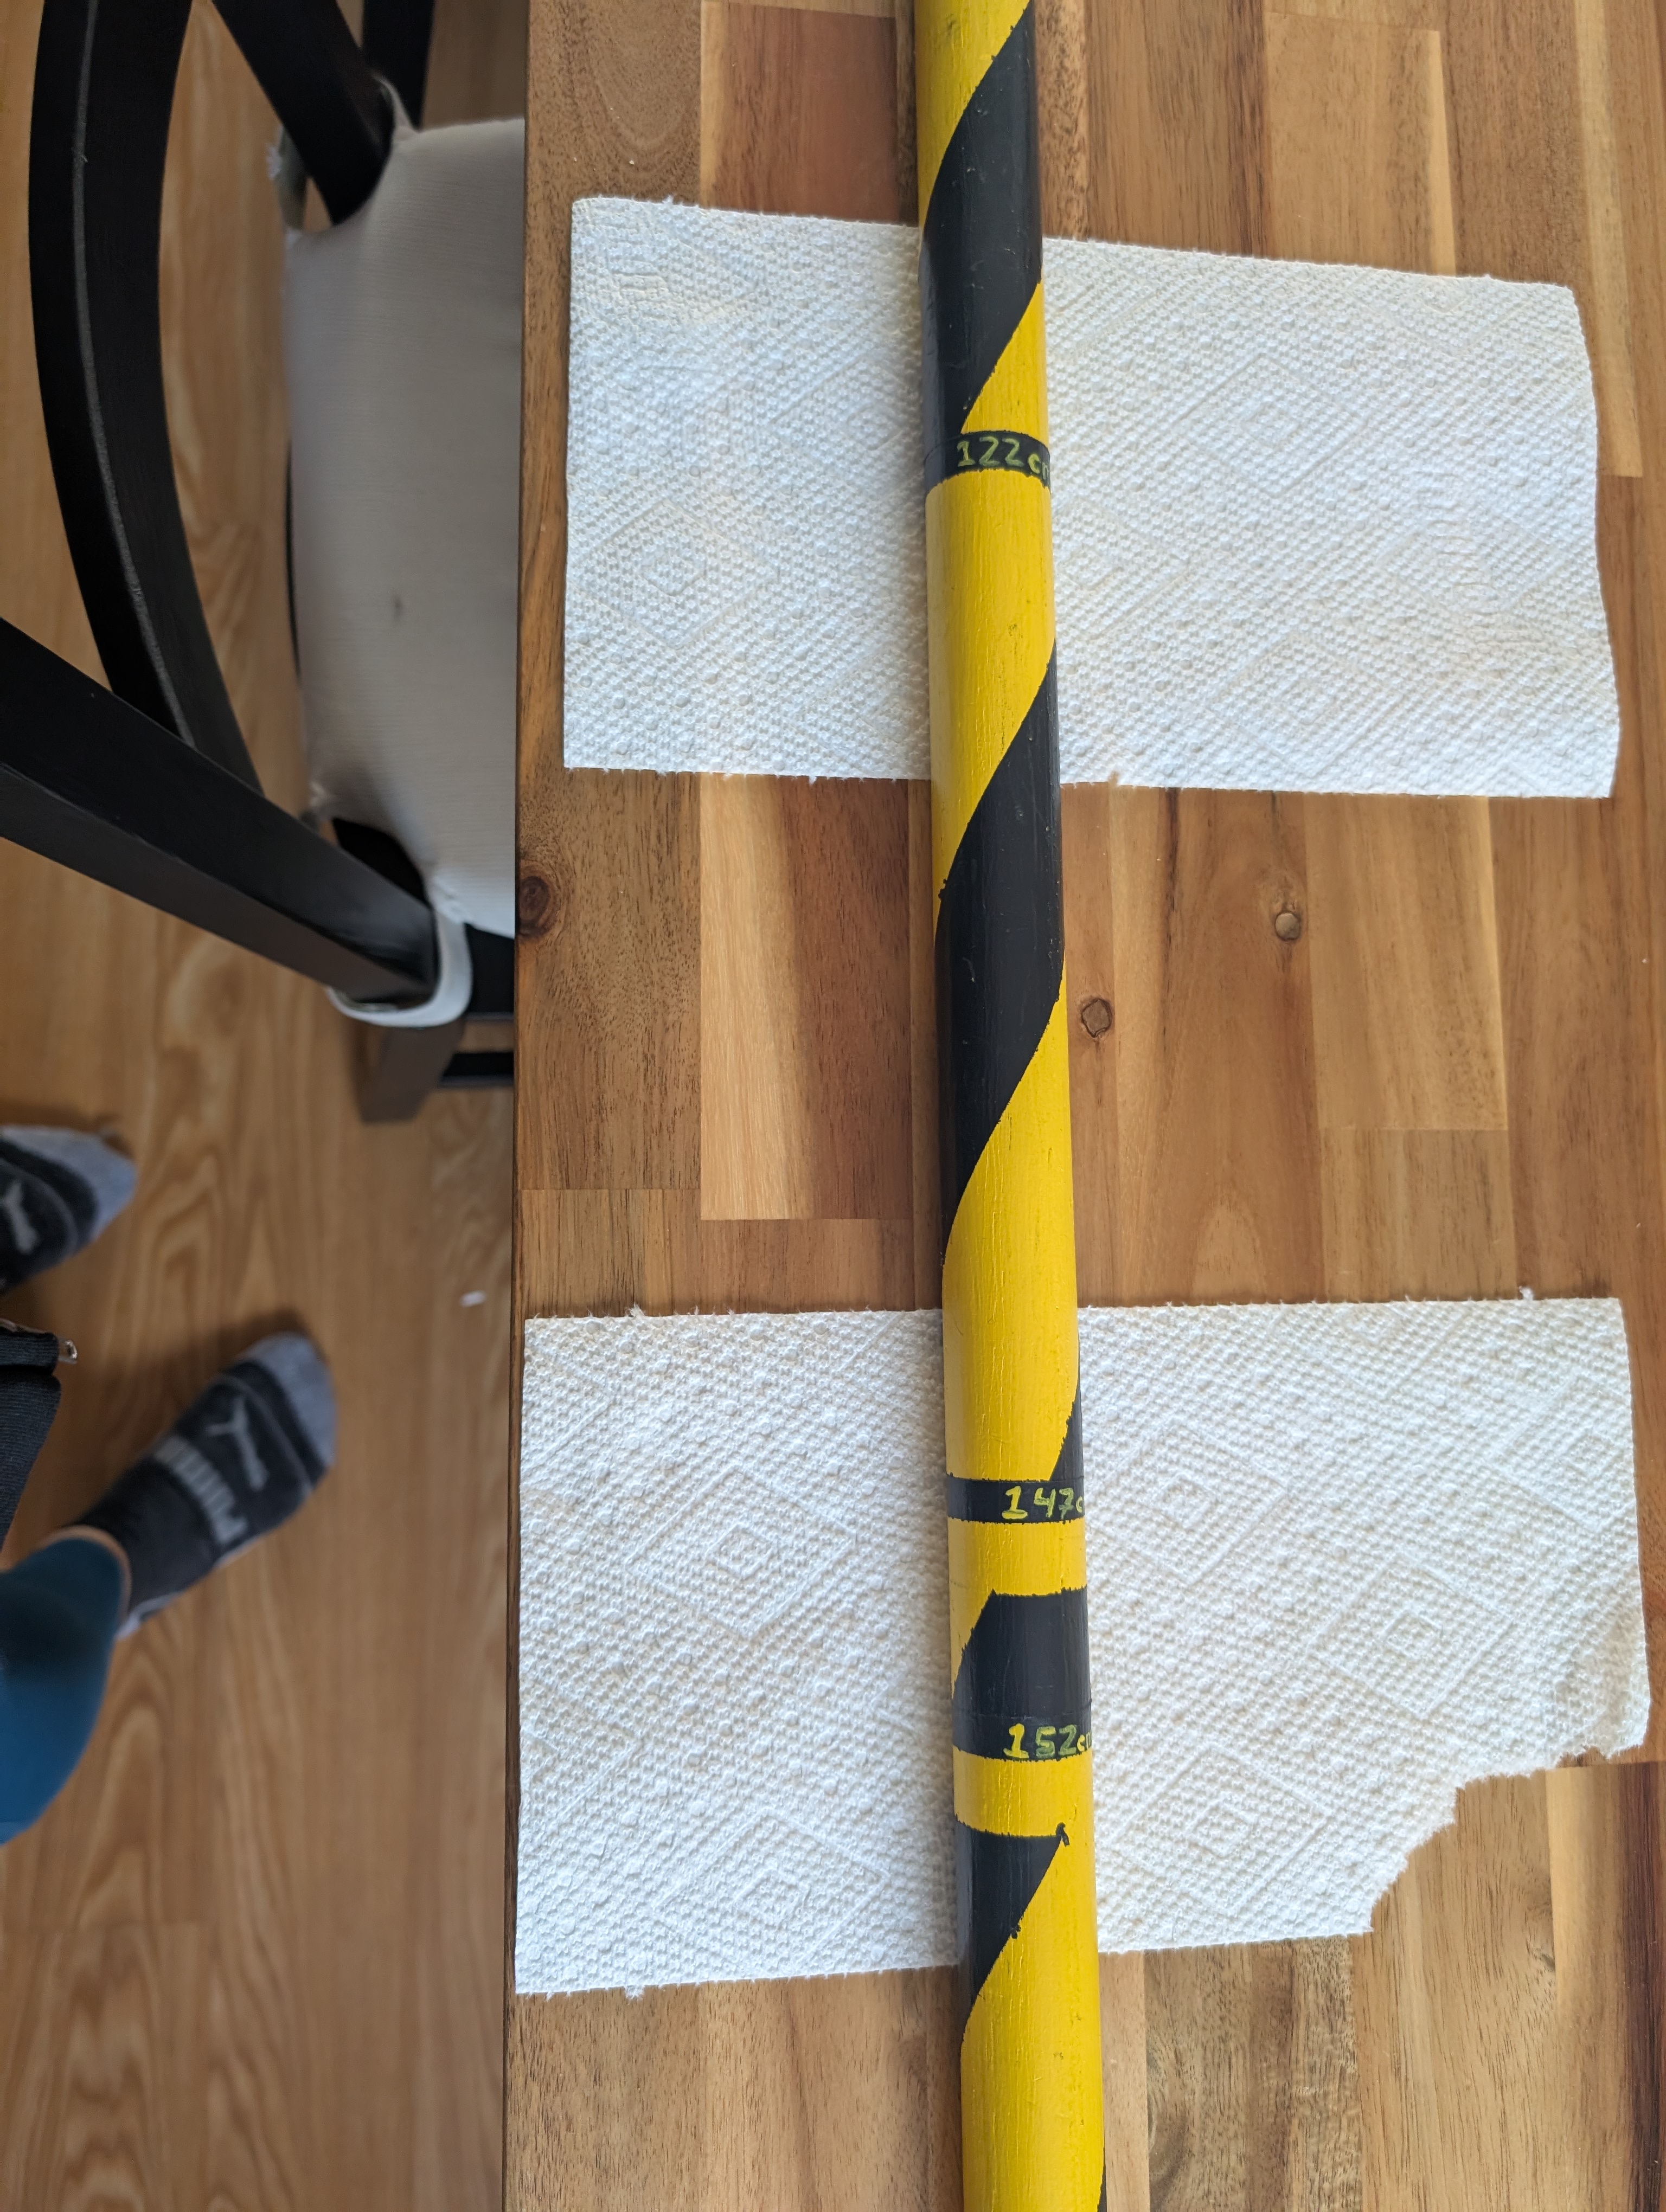
As such, I noted all the length maximums for fencing weapons by Society standards, comprising a table of nine values (albeit with some duplications) to give the maximum grip, blade, and overall weapon length for daggers, single swords, and two-handed swords.
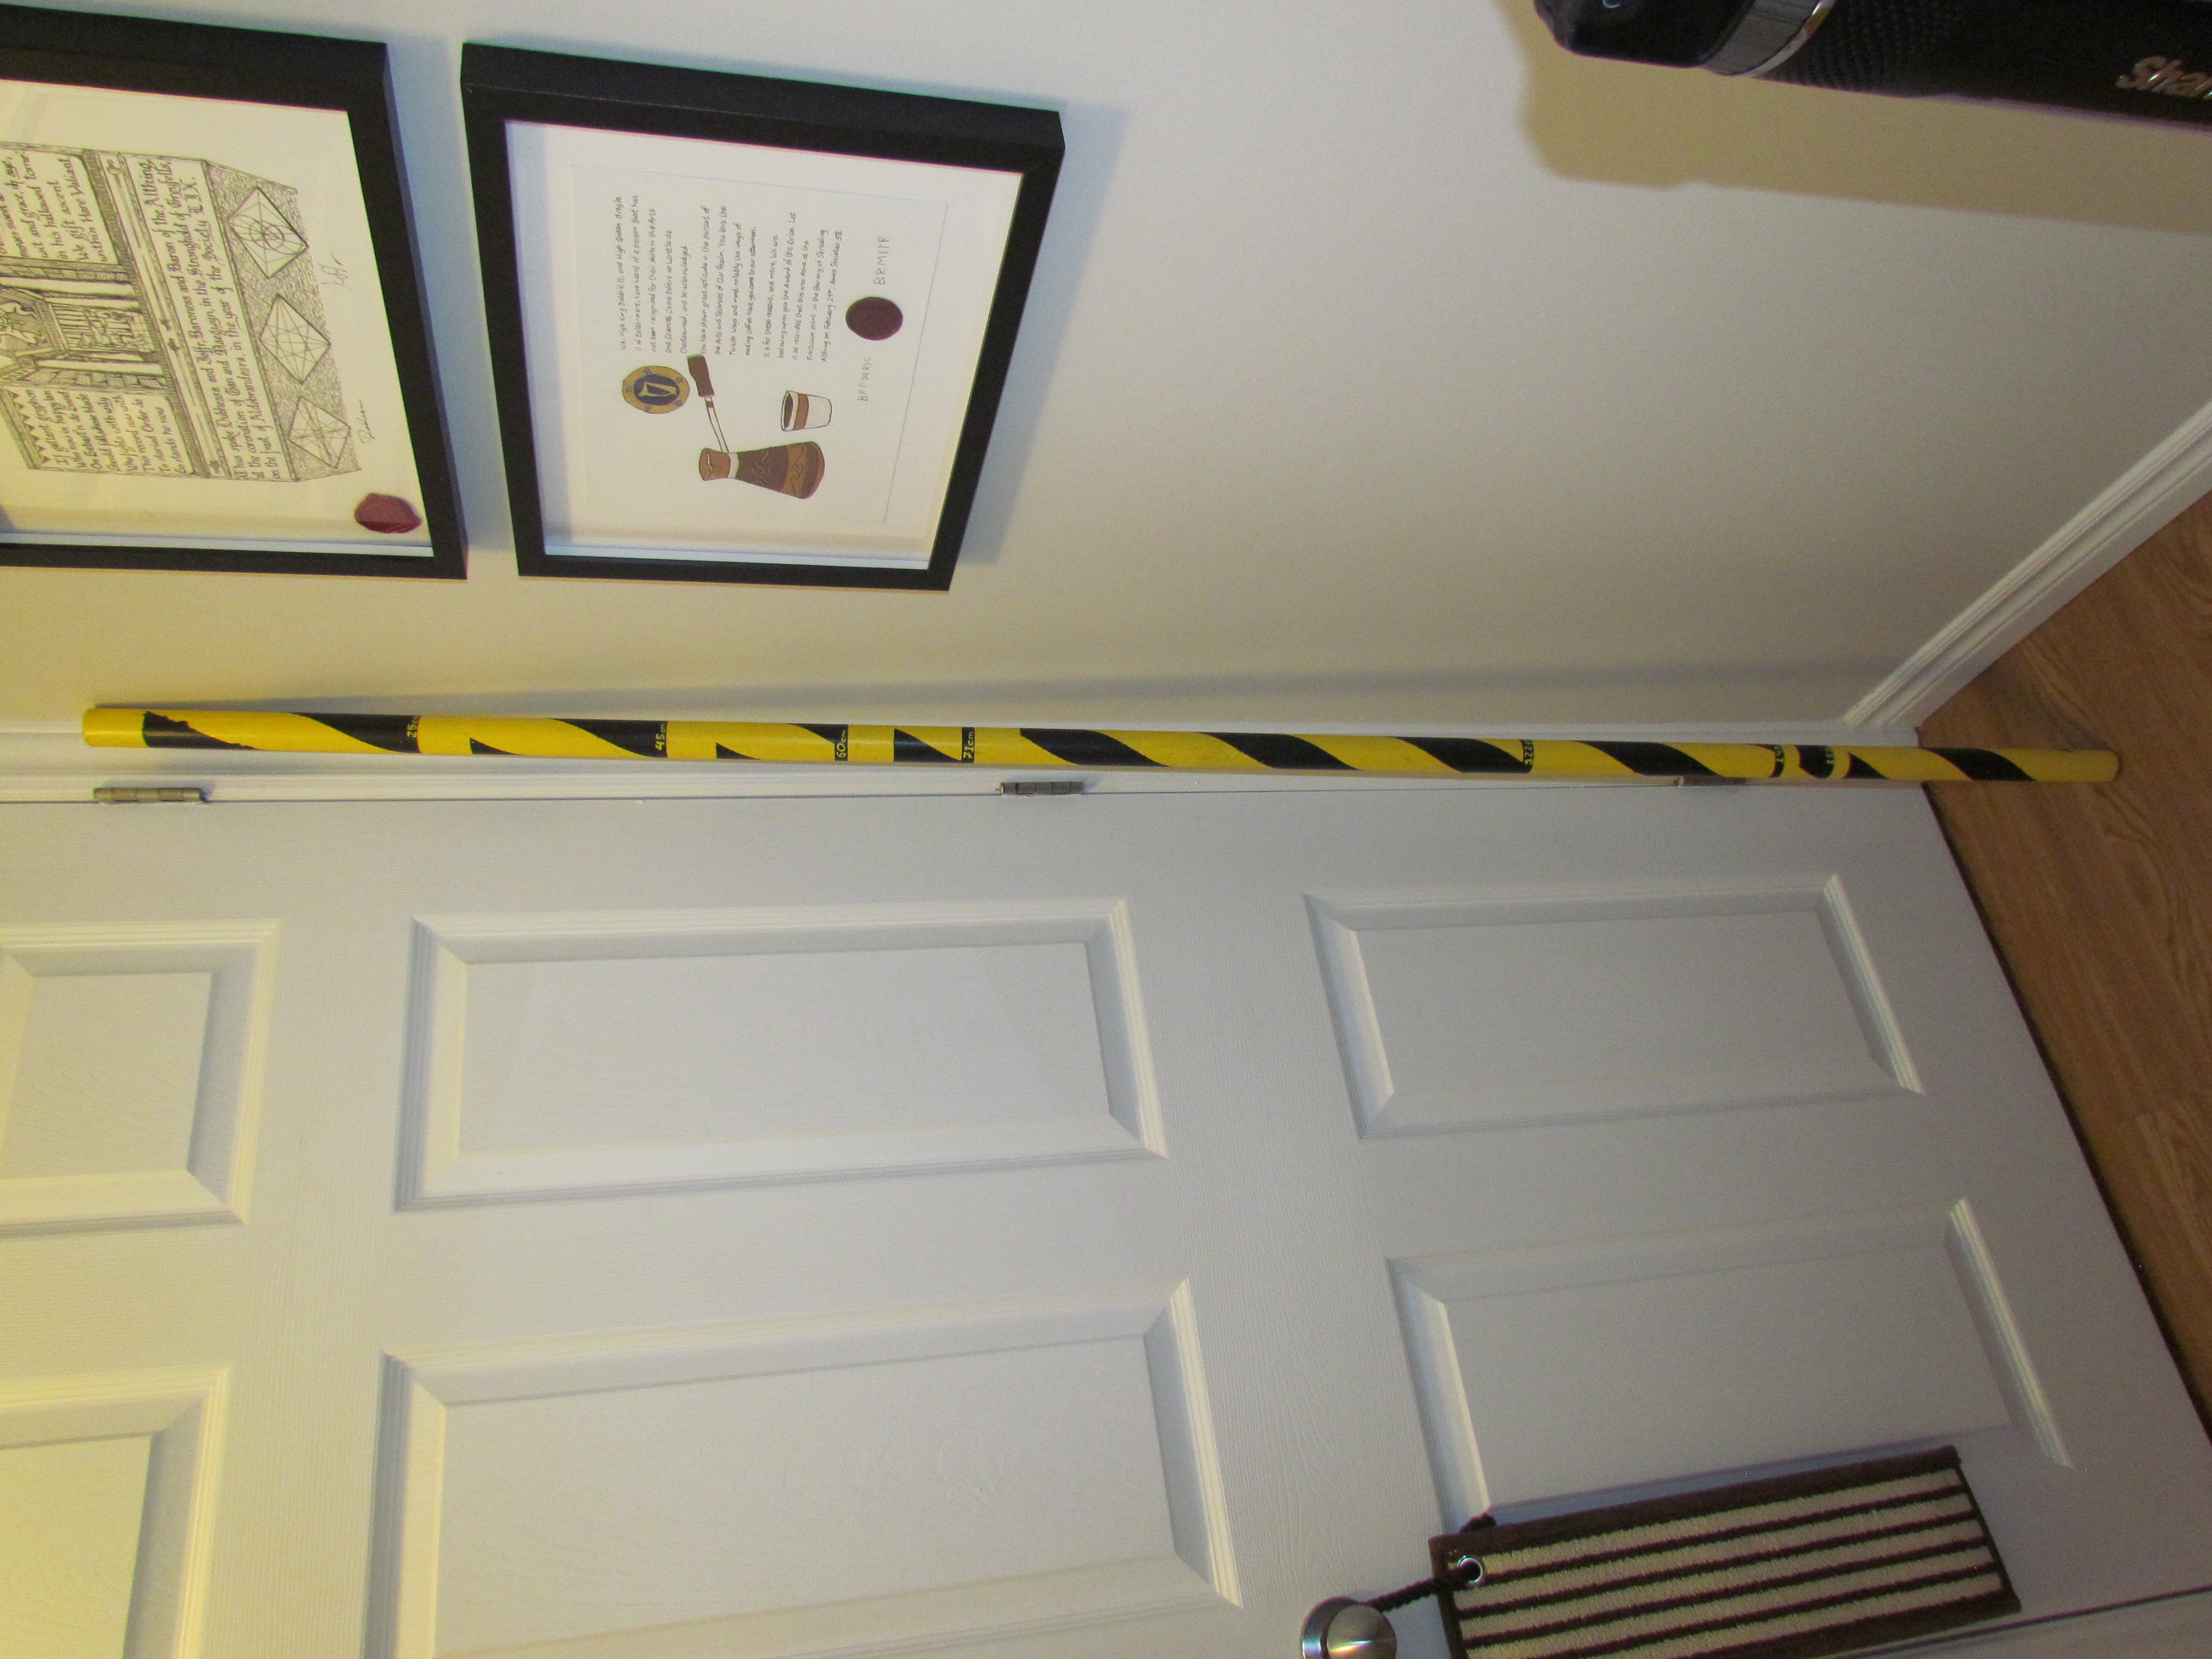
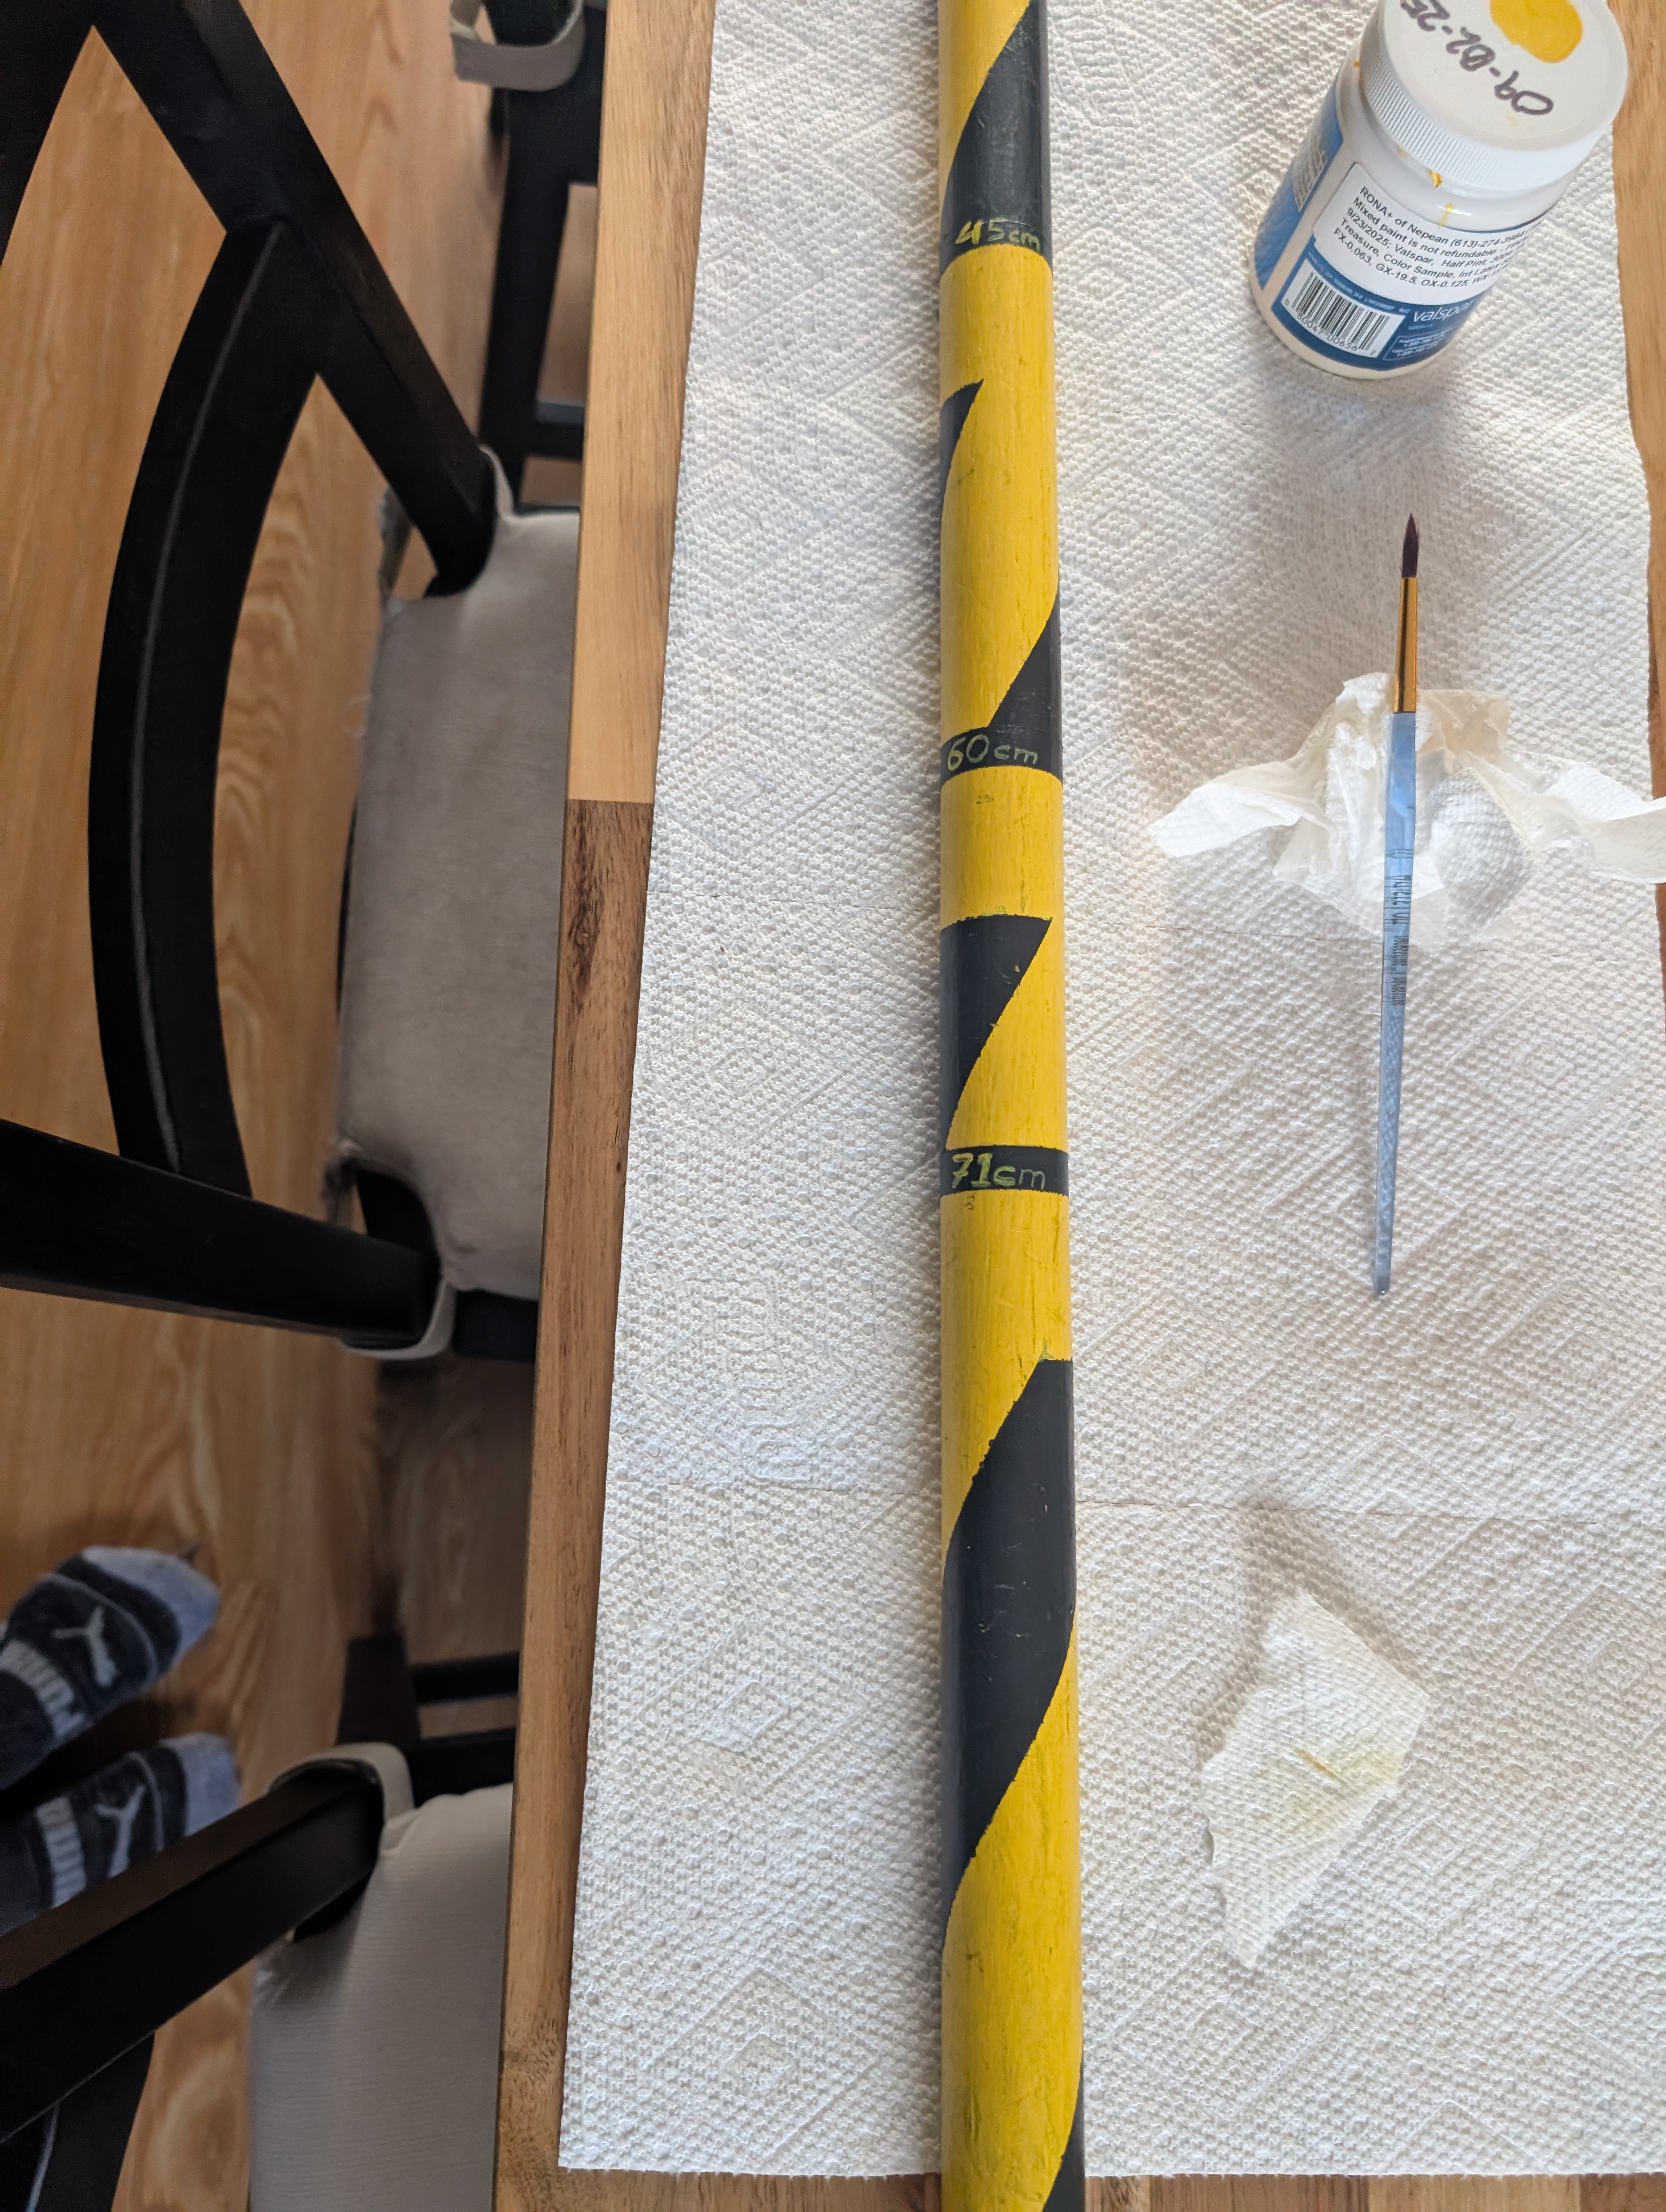
Designating one end of the staff to be 'zero', I then measured and marked rings along the length of it to indicate the designated length, giving the staff a distinctive and asymmetrical appearance. At the least, I do not have to worry about confusing it with someone else's!
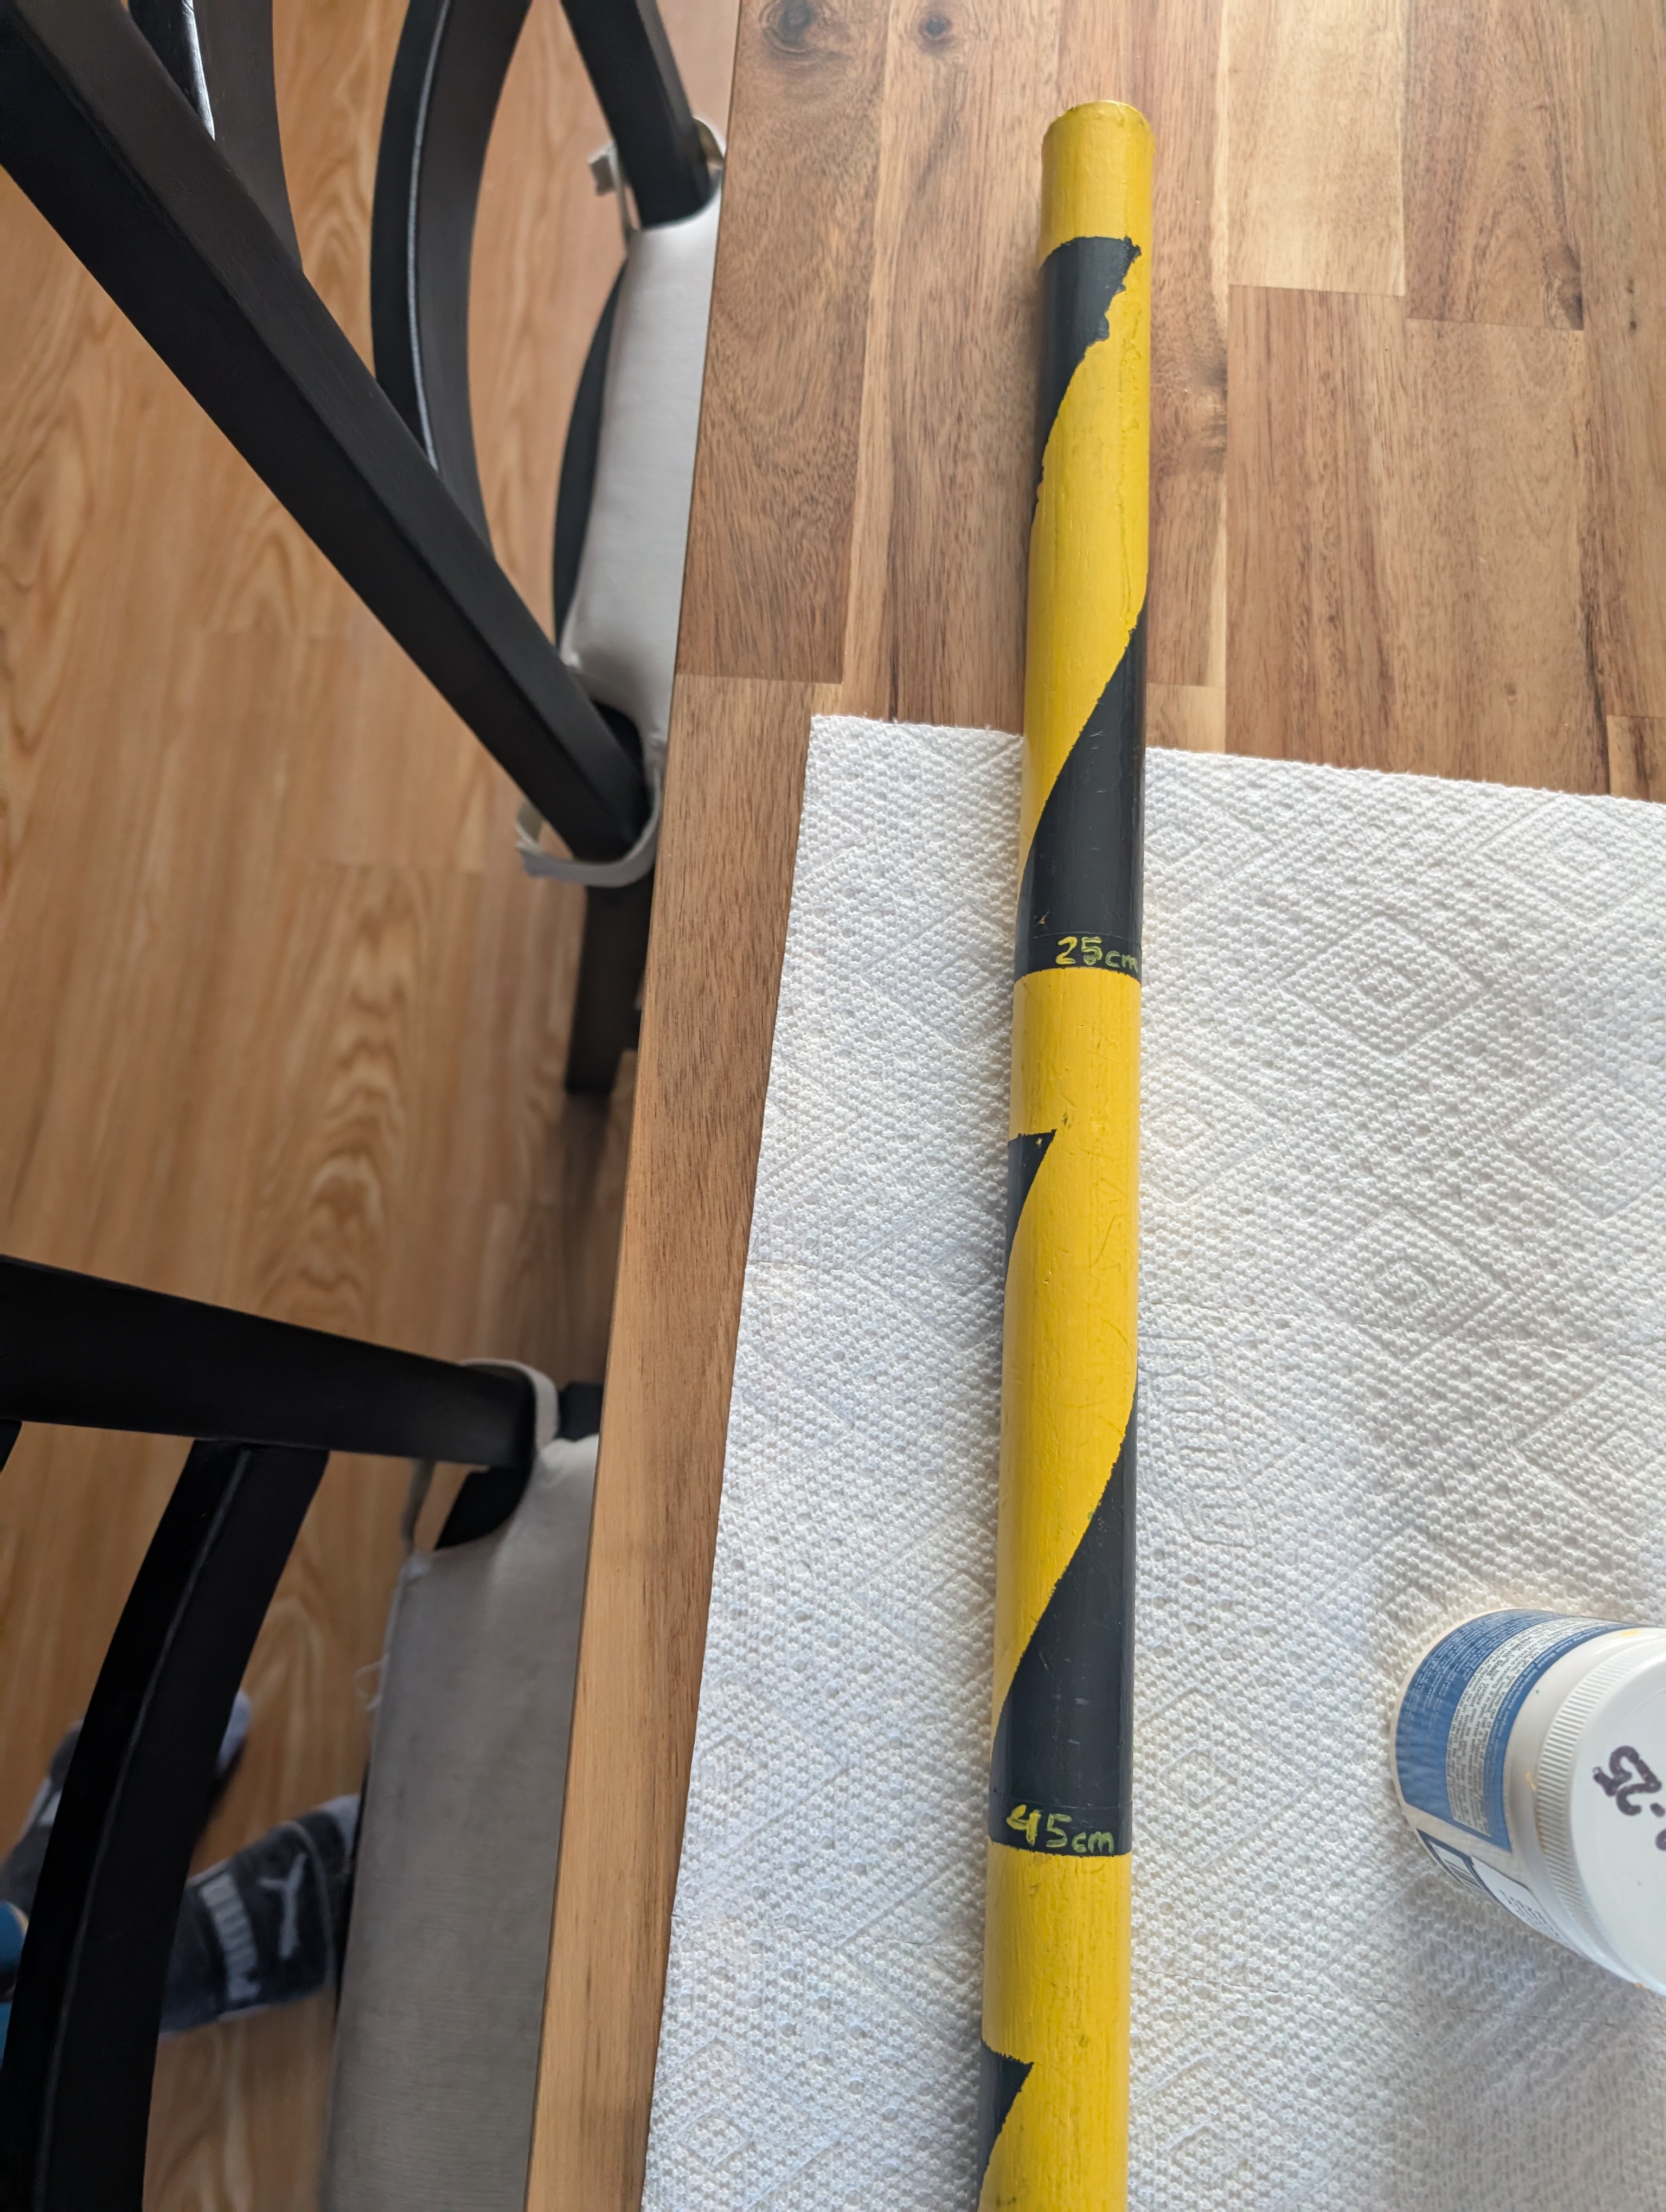
After painting it in the customary gold and black colours, I added some hand-painted lettering to indicate the lengths on each ring to reduce confusion when using it in the field. As I customarily carry a hardcopy set of the rules with me (for event sites with no internet connectivity), I didn't feel it necessary to write what each one was intended to measure, only the measurement between it and the 'zero' end of the stick. (The 'zero' is also not marked, but is trivial to determine which end is which by paying attention to the sequence of the measurements.)
I did also consider putting an 'endcap' on the stick of paint so that the zero would not be at the end and subject to being shortened by wear and tear over time, but the convenience of being able to put a fully-assembled weapon end-down on the ground next to it to measure the overall length was more persuasive to me. As the existing end is fully painted, any significant amount of damage will be clear to me and I can check the measurements to revalidate it if a significant amount of bare wood becomes visible again.
An additional thing I may still add, or add to the next version I make, is a series of marks of 0.5"/12mm distances to measure the deflection of blade tips for flexibility compliance. Rather than a single measure, I contemplate an extended set of them because it will be easier to align the weapon being tested to them in the field if there are a number of places to pick from -- I cannot count on there always being a table or other option to secure the weapon/blade being tested at a consistent height, so building some flexibility into the measure will make it overall more useful.